Project Setup & "Hello, World!" app - Angular
This blog is written for the “Frontend Development" track of DevsInTech Blogs.

Welcome to the second article in the series - "A beginner's guide to understanding Angular". You can read the previous articles on this series from this link.
Having understood what Angular is from our previous article, we will proceed with the project setup and see how we can write our first "Hello, World!" app in Angular.
Project Setup -
#1 Installing NodeJS
To get started with using the Angular framework, we need NodeJS. Node.js is a platform built on Chrome's JavaScript runtime for easily building fast and scalable network applications. Also, NodeJS takes part in loading the AngularJS application with all its dependencies, such as CSS files and JavaScript files in the browser. So, if you don't have NodeJS installed on your PC, go to the NodeJS website and download the LTS version (Recommended for most users) for your operating system. Run and install the setup file downloaded.
To check if NodeJS is properly installed on your PC, open your command prompt and type node in the command line. If a JavaScript console opens up with ">", then NodeJS is installed properly.
#2 Installing Angular
Now exit from the JS Console by typing .exit and in the command line type the below command to install Angular (as given in Angular Docs)
npm install -g @angular/cli
(g here refers to global install, which can be accessed from anywhere on your computer)
Accept the defaults by pressing the Enter or Return key. After the processing bar is complete, the project setup is done. Create a new folder and create the first angular app (named first-app) as shown below. The ng new first-app command will create the first-app folder which has everything you need to create the first app.

Writing our first app -
#1 Default Angular app
You can install any IDE to proceed to the next step, eg: VS Code. Open the first-app folder we created in the IDE. The files and folders look similar to the one shown here.
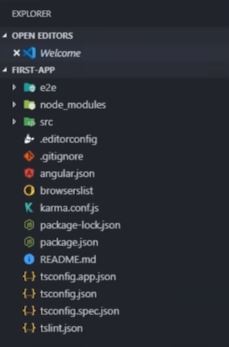
All of these different files and folders don't make sense to a beginner, but proceeding with the upcoming articles published in this series will help you understand them!
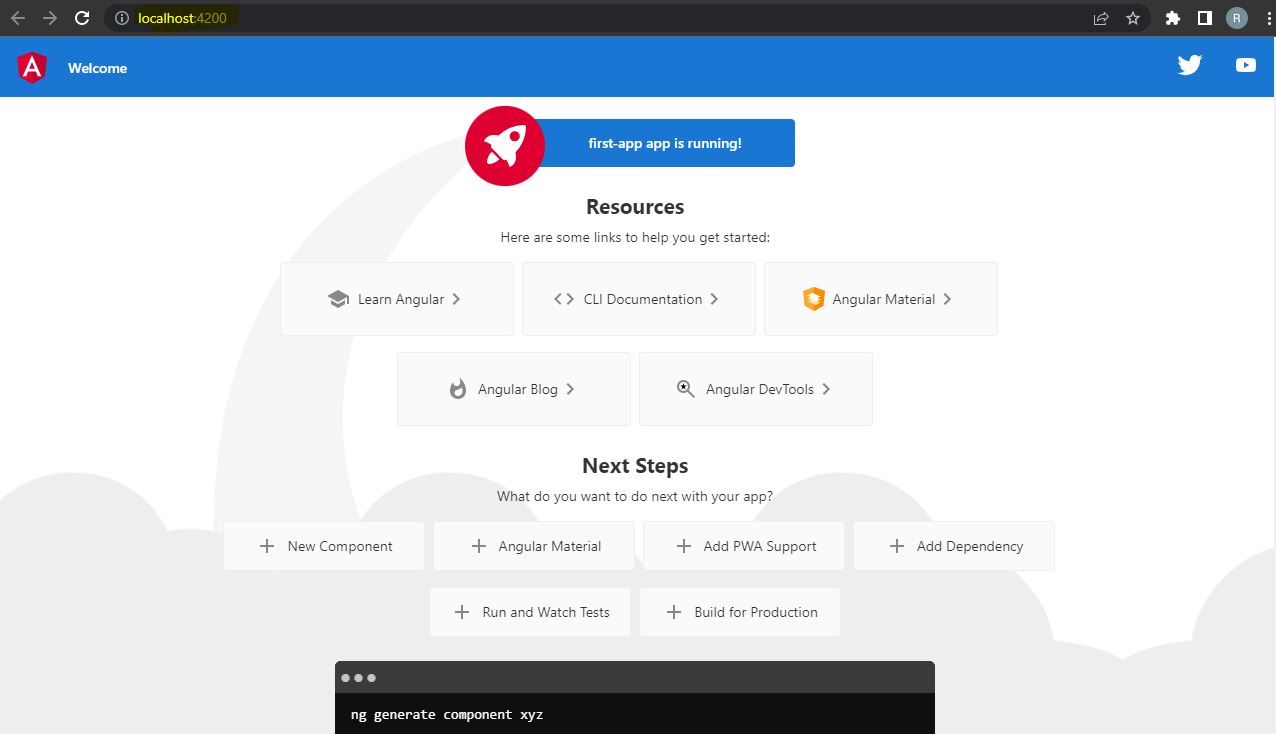
Let us now see what the app that Angular ships with looks like. Open up a new terminal in the IDE and type,
ng serve --open
This command will serve the app on localhost in your default browser at port number 4200. The app will look as shown below.
#2 Understanding the default Angular app
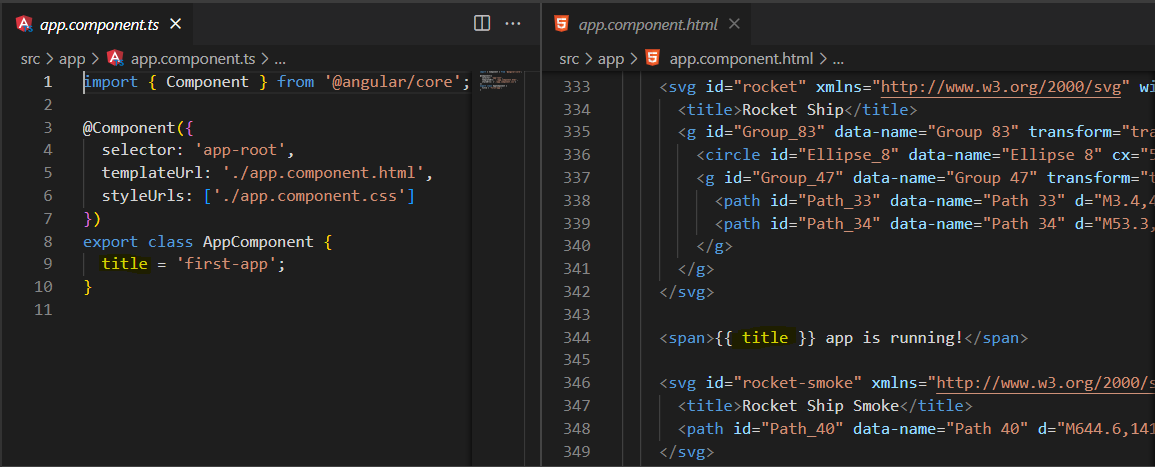
If we open app.component.ts and app.component.html files from src -> app, we can see that these lines together result in the line "first-app is running!" as shown below.

Here, 'first-app' word is replaced in place of {{ title }} in app.component.html as title = 'first-app' is assigned in app.component.ts
#3 Displaying "Hello, World!"
So to display "Hello, World!", we are going to delete all the contents in the app.component.html file and replace them with the one shown below.
<!DOCTYPE html>
<html lang="en">
<head>
  <meta charset="UTF-8">
  <meta http-equiv="X-UA-Compatible" content="IE=edge">
  <meta name="viewport" content="width=device-width, initial-scale=1.0">
  <title>Document</title>
</head>
<body>
  <h1>
    {{ title }}
  </h1>
</body>
</html>
As for the app.component.ts file, we will just change the title = 'first-app' to title = "Hello, World!" and save the changes in both the files.
import { Component } from '@angular/core';

@Component({
  selector: 'app-root',
  templateUrl: './app.component.html',
  styleUrls: ['./app.component.css']
})
export class AppComponent {
  title = 'Hello, World!';
}
Now, if we open the browser, it would display as,
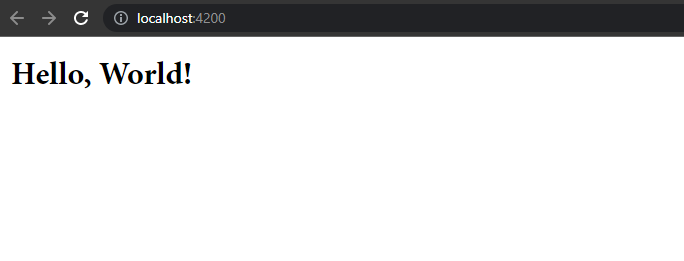
Hurrah! We have created our first Angular app!
And that's a wrap-up. I hope you have learned something from this blog. If it's helpful to you and your front-end development journey then do like, follow me on Hashnode and Twitter and do subscribe to my Hashnode newsletter so that you don't miss any future posts. Thanks for reading and have a great day!
Stay tuned for the upcoming articles in this series!


